This Month's Workshop

Friday 29 June 2012

Photo Image Tutorial

Tonight I'm going to walk you through the process of adding a black and white image to your ceramic piece. This is an exciting and super personal technique you can apply and to do so you just need to bring in a high quality black and white image for us to scan and apply onto our special paper.

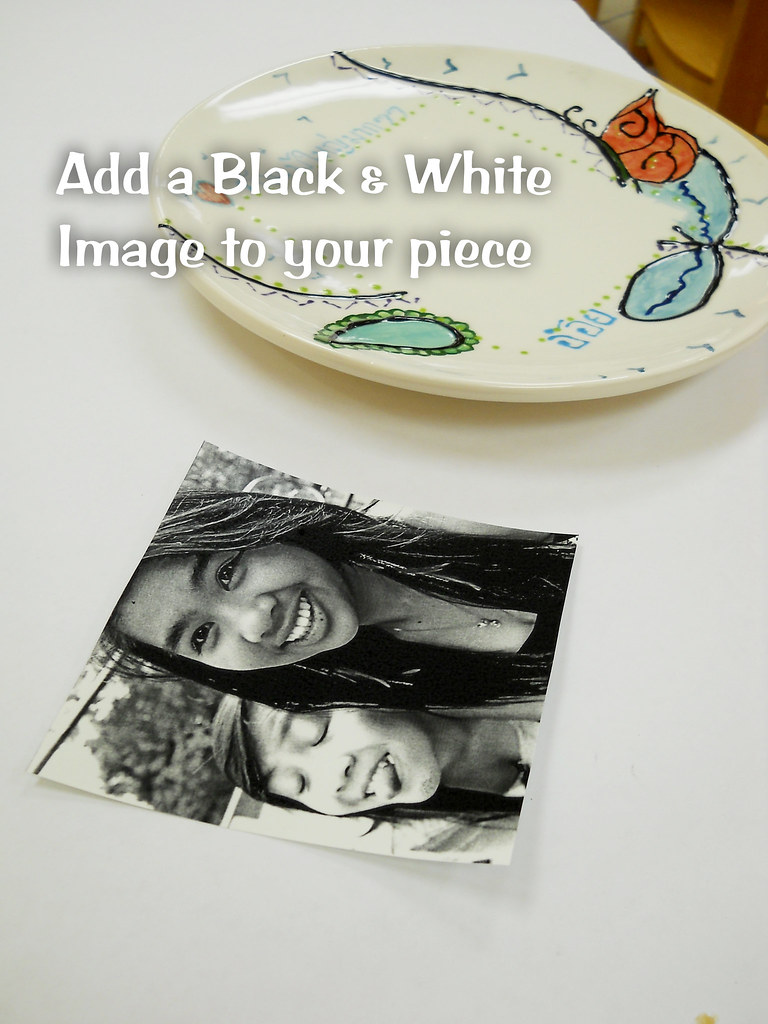
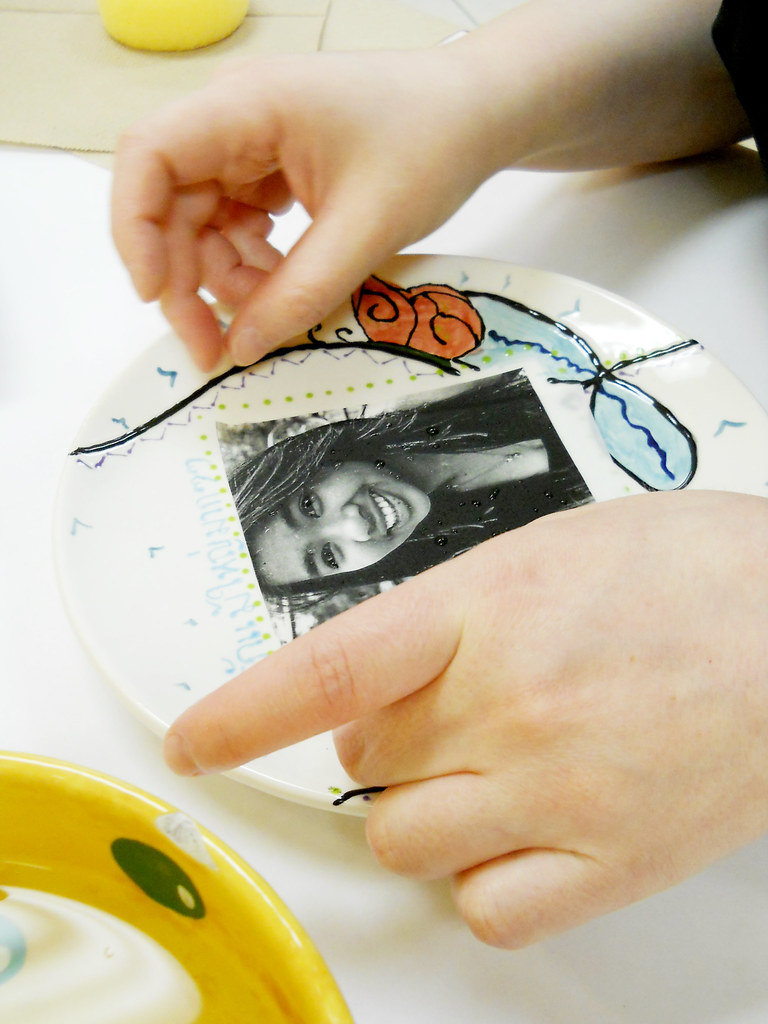
When you're painting your piece, leave a white square for the image to be placed. This is going to be our map for placing the final image on before we re-fire it.

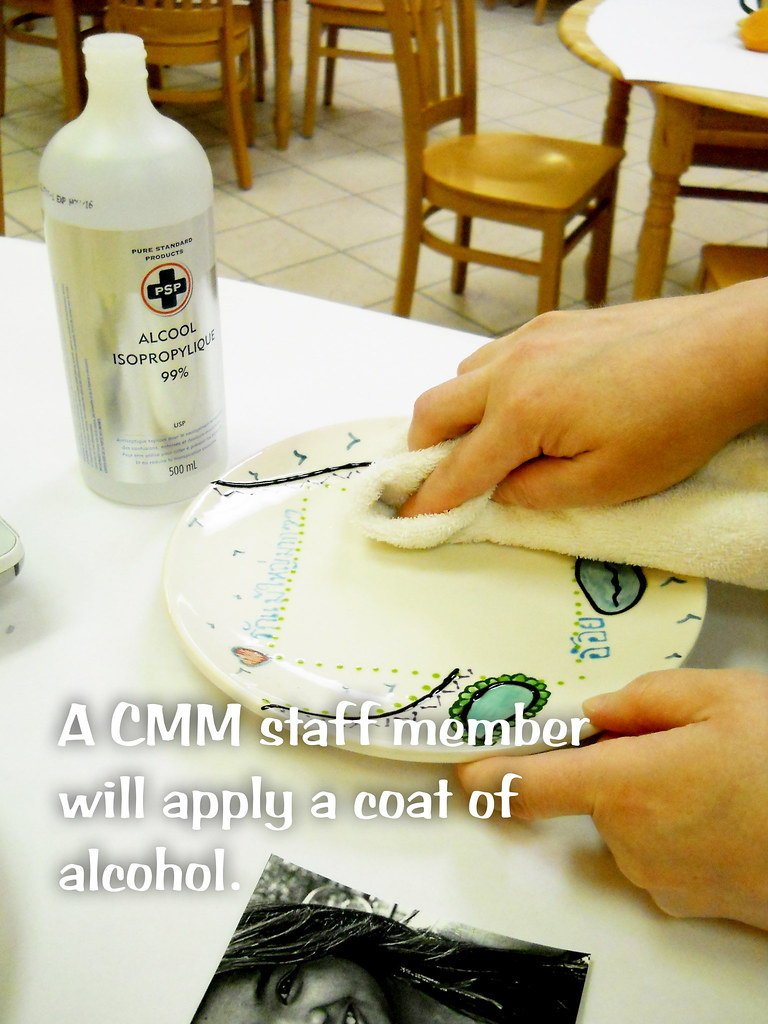
The steps shown are steps that a Color Me Mine staff member will go through after your piece is completed and fired for the first time, and after your piece is printed out onto our special image paper.

Technique Tutorial - Adding a Black and White Image

Technique Tutorial - Adding a Black and White Image

Technique Tutorial - Adding a Black and White Image

Technique Tutorial - Adding a Black and White Image

Technique Tutorial - Adding a Black and White Image

Technique Tutorial - Adding a Black and White Image

Technique Tutorial - Adding a Black and White Image

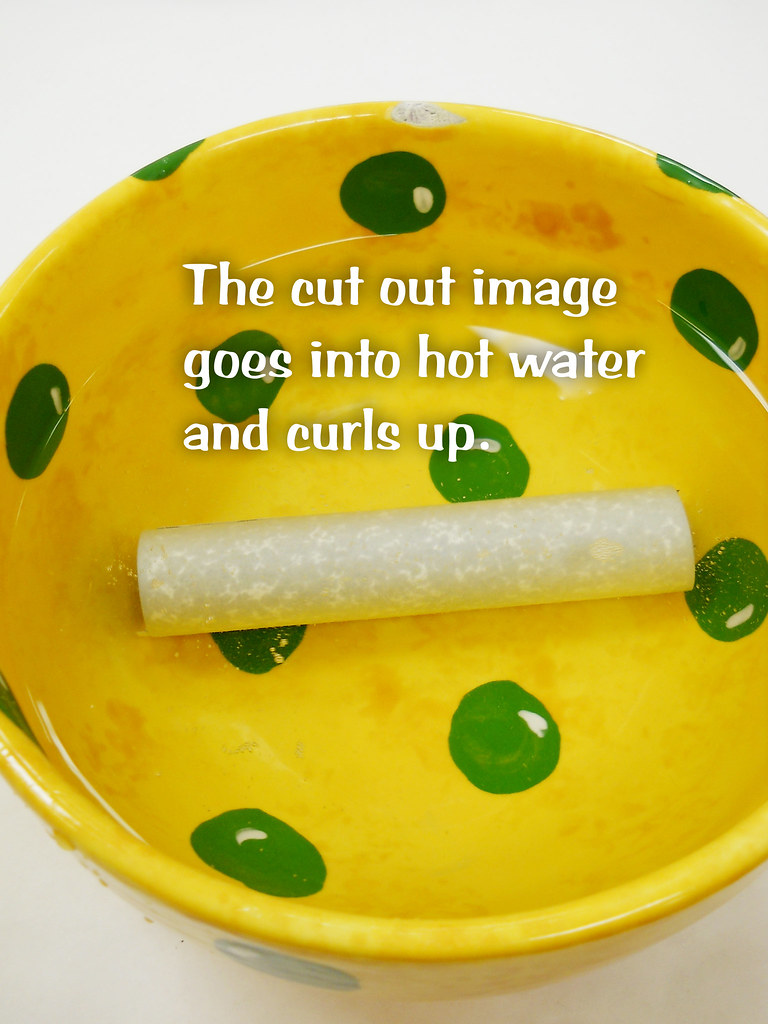
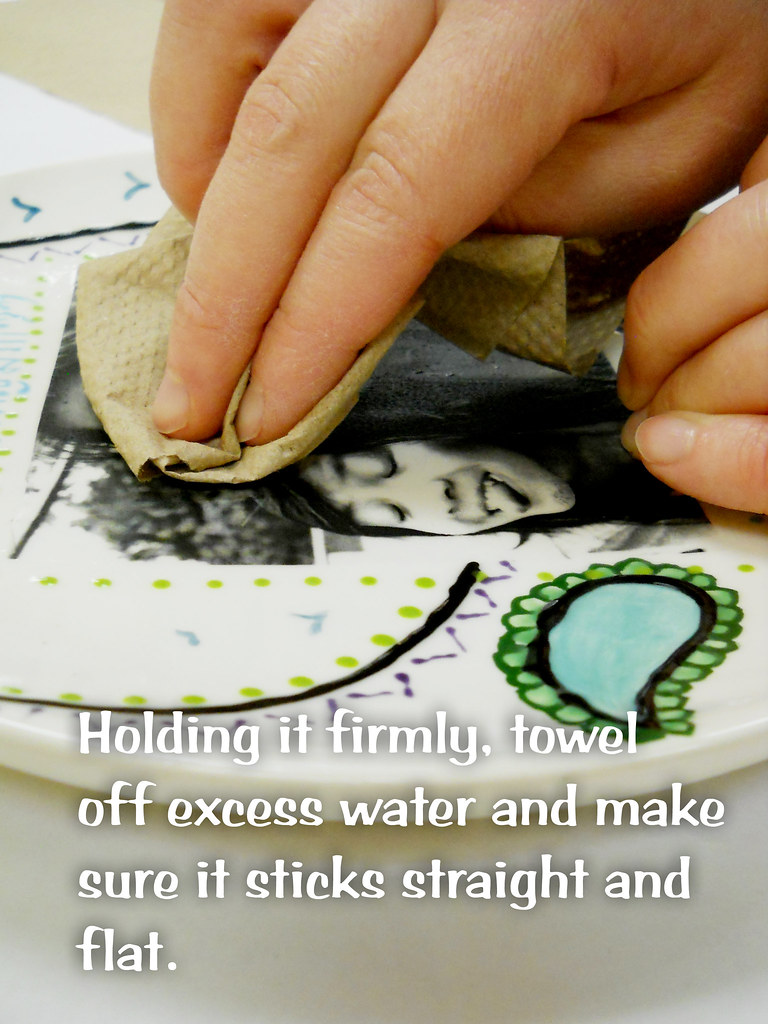
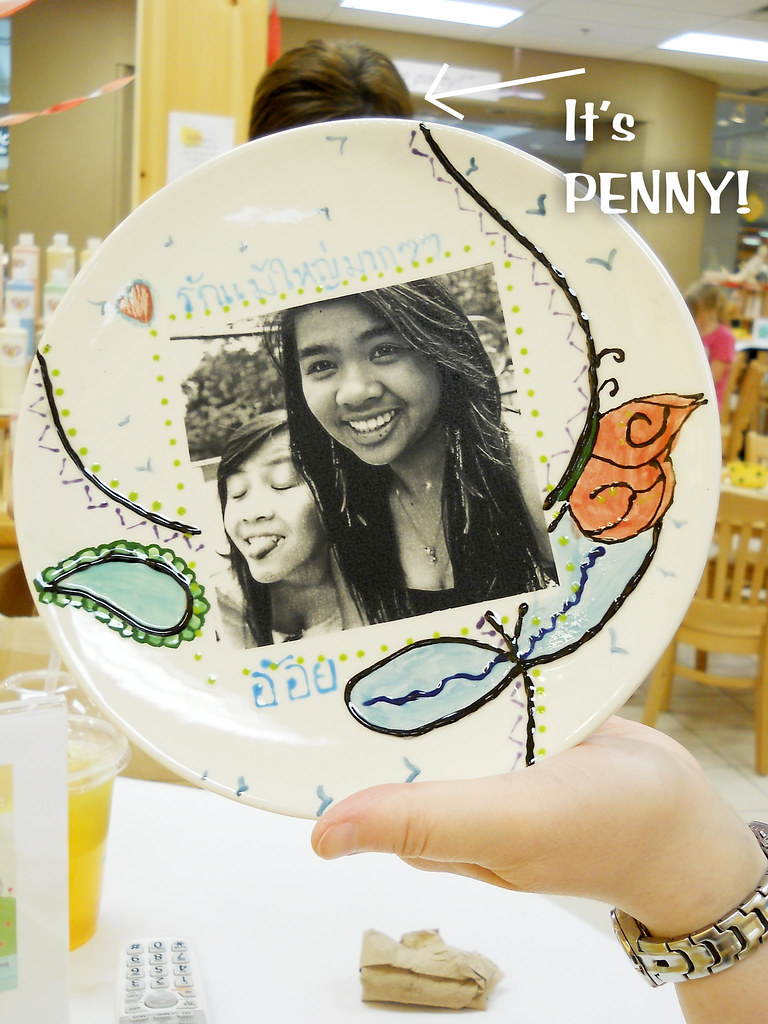
Afterwards, the plate will be placed back into our kiln for a short time to cement the image onto the piece.

Posted by Sarah

No comments:

Post a Comment